Reports in MonitorWare Console can be scheduled using Job Manager. With Job Manager you can not only schedule the reports such that they are saved on the hard disk but also you can schedule the reports such that they are sent via email to specified recipients.
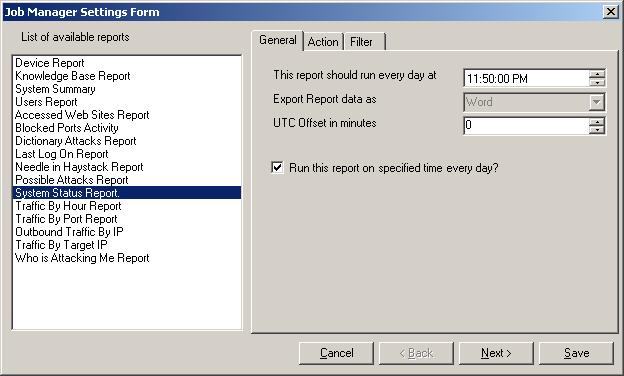
1. Click “Options” in the main tool bar of MonitorWare Console and then click on “Job Manager Settings…” You will see a dialog box as shown below

2. Click on the report that you want to schedule. In this example i will illustrate the scheduling of “System Status Report”
3. Click on “System Status Report” on the left hand side.
4. On the right hand side, set the time and UTC offset. Please note that the check box must be checked if you want to schedule the report. Lets say you want to generate this report daily at 11:00 pm. If you have logged the records in the database with local time, then you dont need to set this UTC value. It will stay at 0. These settings are shown below:
5. Now click on Action tab. You will see as below:
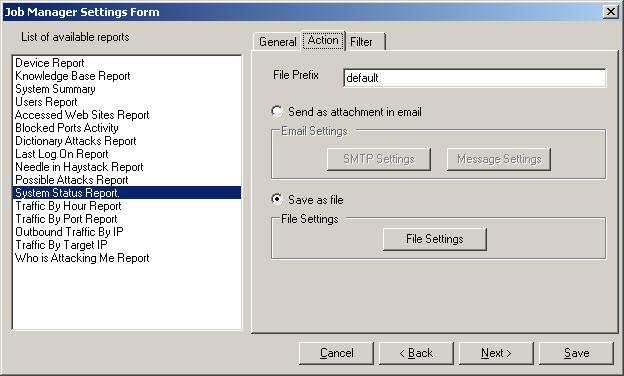
6. Set the File Prefix. In this case, I leave it as default.
7. Now you have 2 options. Either you can save the report on the hard disk or you can send an email when the scheduled time is met. If you select “Save as file” radio button, then the “File Settings” button will be enabled and on the other hand, if you select “Send as attachment in email” radio button, then both “SMTP Settings and “Message Settings” buttons will be enabled. You can either carry on with Step 8 or Step 9 depending upon your requirements
8. If you want to save the report on the hard disk at the scheduled time then select “Save as file” radio button and click on “File Settings” button. Once you do that, you will see the following dialog box:
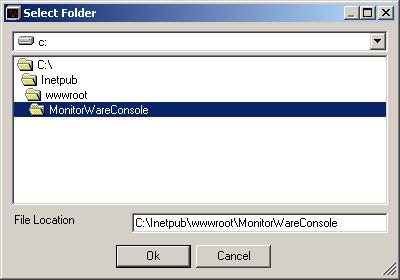
You can select any path over here that you feel like. But if you want to view this report on the web, you will have to create a folder under Inetpub->wwwroot. In this case, I have created a folder named “MonitorWareConsole” and have selected the same in the above dialog box. Click OK once you have done that
9. If on the other hand, you are interested in the report being emailed to some specified recipient at the specified time, then you should select the radio buttion labeled as “Send as attachment in email”. After Selecting it, click on SMTP Settings. It will show you the following dialog box:
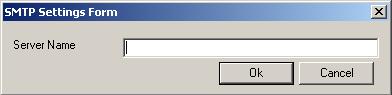
Enter your SMTP server name. Click OK. Then click on “Message Settings” button. You will see a dialog box similar to the one shown below:
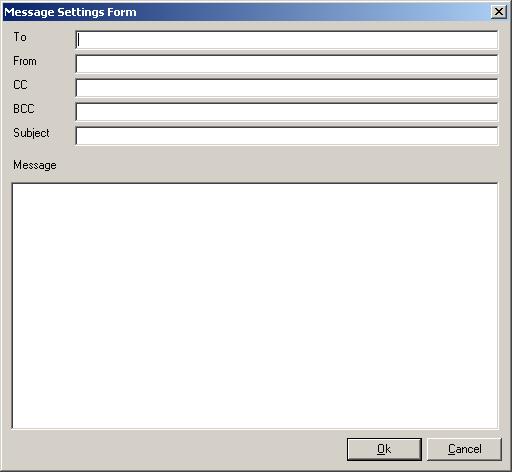
Fill in these values and click OK when done
10. After setting the “Action” tab according to 8 or 9 above, click on Filter tab. Once done, you will see following dialog box:

You can now select one of the above 3 mentioned filters based on your requirements.
11. Once done, click on “Save” button. If the Job Manager Service is running, it will give you a message saying that it would restart the service so that new settings could take effect. If on the other hand, the service in the background is not running, it would give you a message saying that you have to manually restart the service. You can start the service manually by going to Control Panel->Administrative Tools->Services and start AdisconMWCJobManager Service